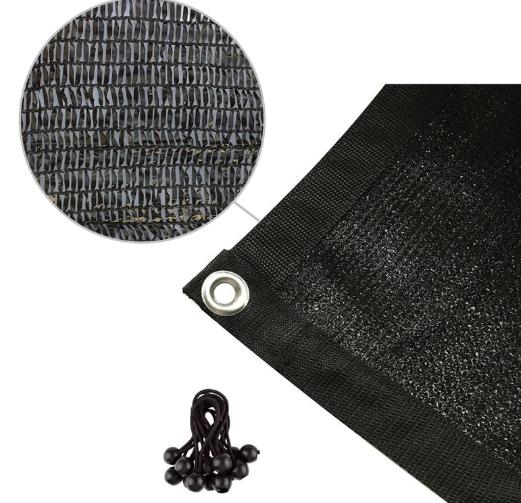
Are you looking to protect your garden from pests and birds? Patchworking garden netting can be an effective solution. Here's a step-by-step guide on how to properly patchwork garden netting to safeguard your plants.
1. Assess the Damage
Before you begin patchworking, carefully inspect your garden netting for any tears or holes. Identify the areas that need to be repaired to ensure comprehensive coverage.
2. Gather Materials
Make sure you have all the necessary materials on hand, including extra garden netting, scissors, and zip ties. Having everything ready will streamline the patchworking process.
3. Cut the Patch
Using scissors, carefully cut a piece of garden netting that is slightly larger than the tear or hole you are repairing. This will ensure a secure and effective patch.
4. Secure the Patch
Position the patch over the damaged area and use zip ties to secure it in place. Make sure the patch is taut and properly aligned with the existing netting to prevent any gaps.
5. Trim Excess Netting
Once the patch is securely in place, trim any excess netting with scissors. This will give your garden a neat and uniform appearance while maintaining the integrity of the patch.
6. Inspect and Test
After patchworking the garden netting, take a step back and inspect the repairs. Test the strength of the patch by gently tugging on it to ensure it is secure and will effectively protect your plants.

By following these steps, you can effectively patchwork garden netting to safeguard your garden from pests and birds. Remember to regularly inspect your netting and make any necessary repairs to maintain a healthy and thriving garden.
- Aug 07, 2024
- Category: Blogs
- Comments: 0
Customer Service
Contact Us
Toll Free: +1-855-666-7156
E-mail: service@gardenport.com


